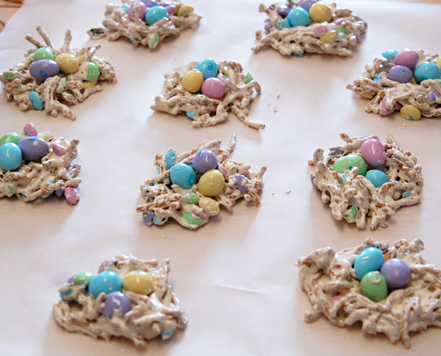
Here’s a fun and easy recipes that the kids can help with! These are cute little Birds nests, great for spring or Easter! Oh and keep reading, the first giveaway is today! But more on that later, lets get creating!
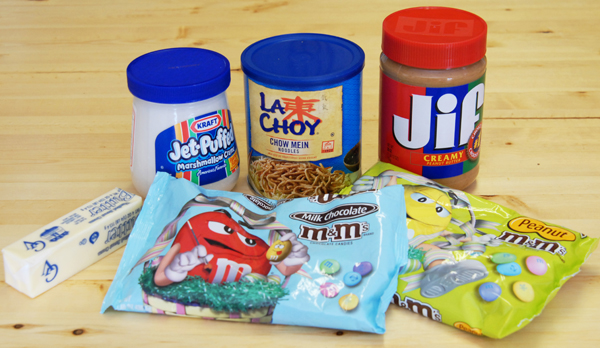
The Cast & Crew:
Marshmallow cream, creamy peanut butter, Chow Mein Noodles, Butter, Plain M&Ms, and Peanut M&Ms
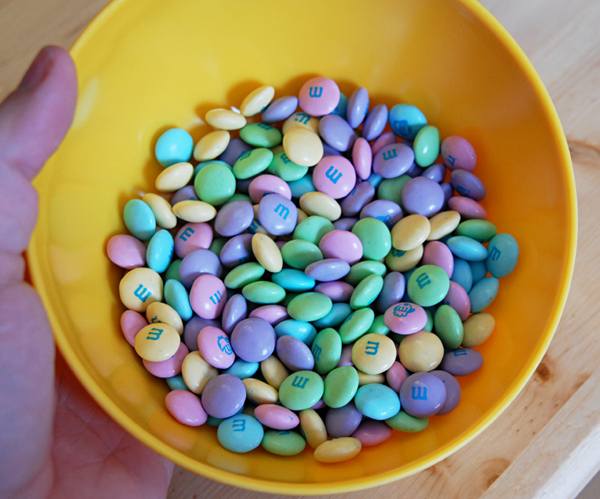
Start with 1 cup of plain m&ms. Admire how pretty they are. Think about snagging one or two. Be thankful that there are more than one cup in a bag of M&Ms and help yourself to the bag.
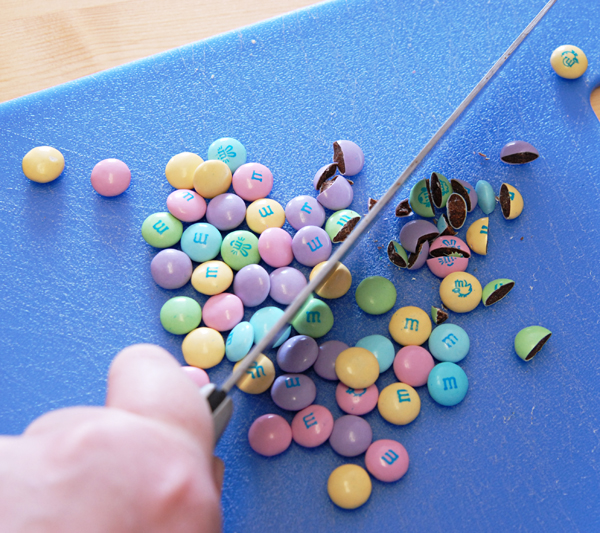
Now with the 1 cup that you saved Chop each candy in half. If you’ve got yourself a nice sharp butcher knife its actually pretty easy to do.
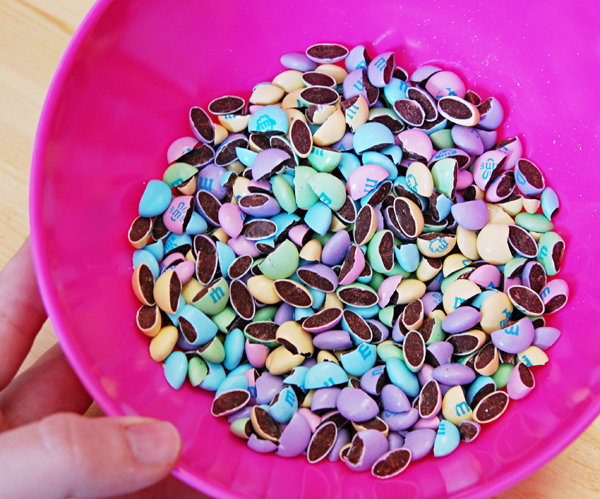
This is what they will look like when when they are all chopped up. Its a good thing I don’t bleed chocolate. Set m&ms aside for now.
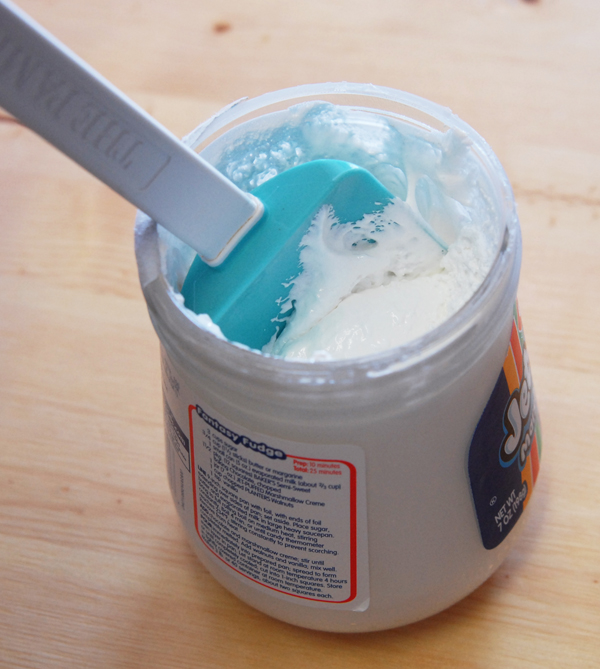
Now Scoop out a 7 oz jar of marshmallow cream. Try not to get it on you, boy is this stuff sticky. (isn’t my spatula purty?? I LOVE cooking with color!)
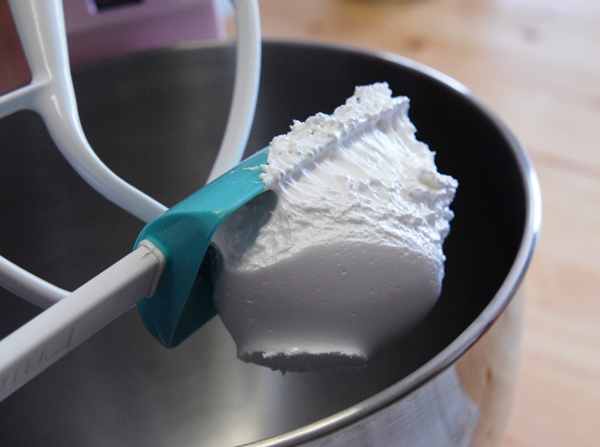
Dump all of the cream into a mixing bowl
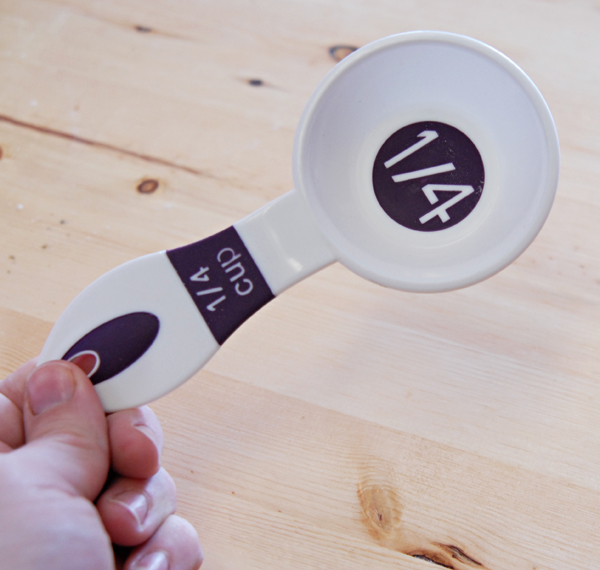
Now find a 1/4 cup measuring cup. Isn’t this one pretty? do you like it? Well read on. (do you see where this is going?)
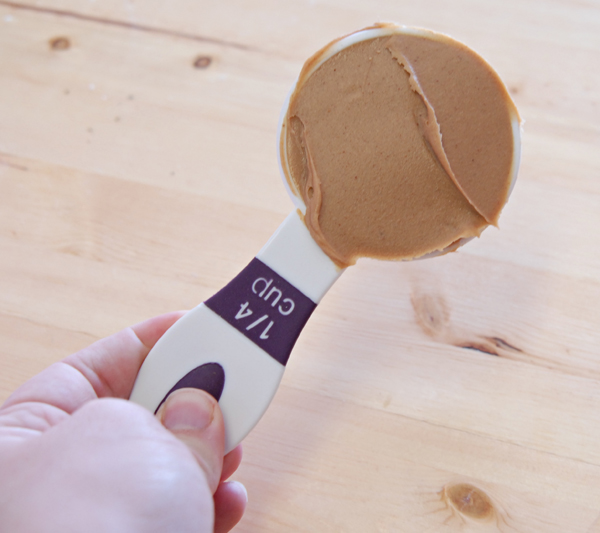
Scoop out 1/4 cup of Creamy peanut butter
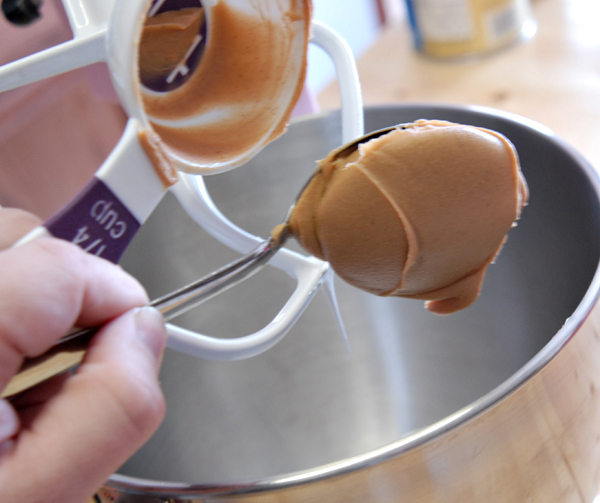
and toss it into your mixing bowl as well.
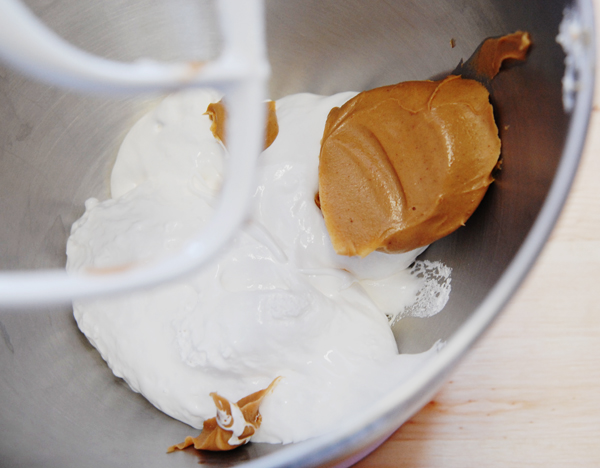
And there it is, becomeing friends with the marshmallow cream. Hello cream, we’re going to be great friends!
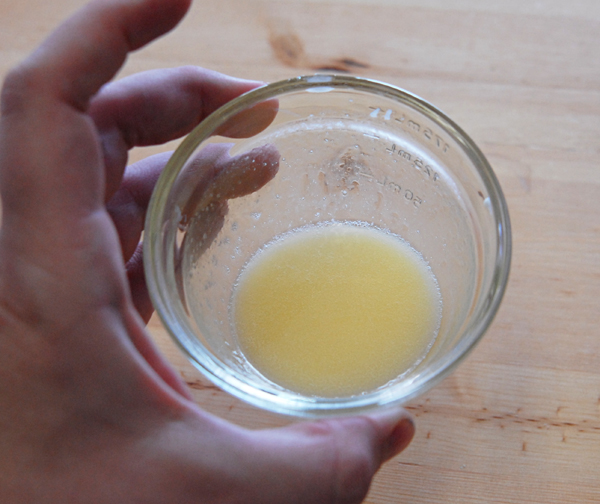
Now melt 1 3/4 TBS of butter. Ya ya i know, it would have been easier if the recipe just called for two, but guess what! We get to MELT the butter instead of just softening it! which means when we put it in the microwave its OK when you forget about it and it melts completely! Umm wait, please tell me I’m not the only one that does that?? Alas the butter you are currently looking at was my second try (I really did forget the first one and it was boiling before I remembered it.) Sigh. its ok though, I ended up finding a use for it anyway, you’ll see later on.
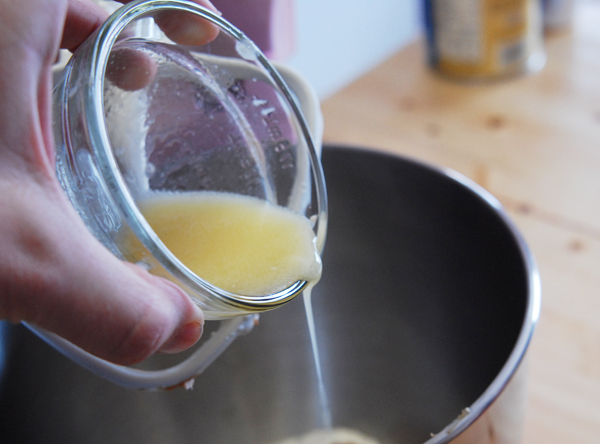
Pour your melted butter into your mixing bowl
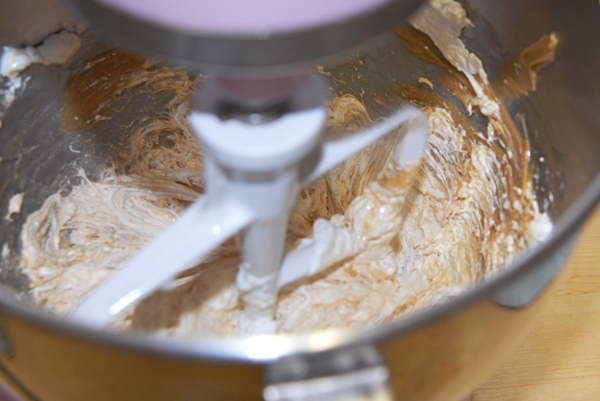
beat well until everything is mixed completely
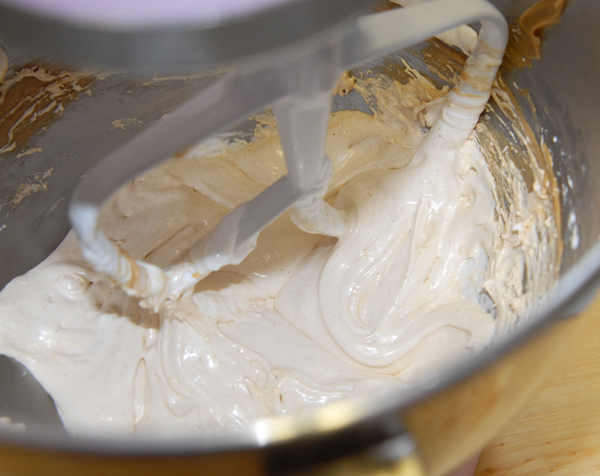
like this. well except for that sneaky peanut butter on the side who didn’t feel like making friends today. He will be punished later.
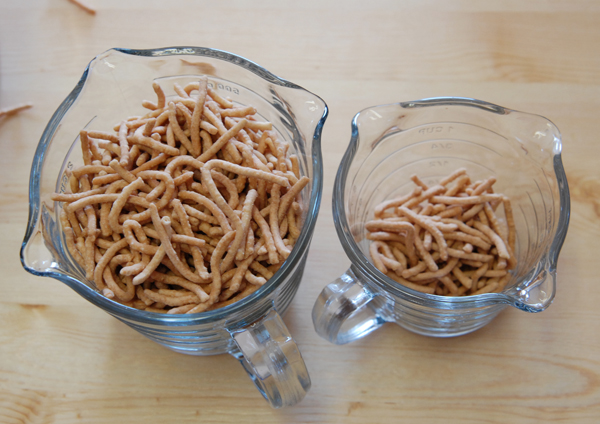
Now get out your 2 1/2 cups of chow mein noodles. Good news! that actually equaled one can perfectly! Thank you Recipe Gods! (or whomever)
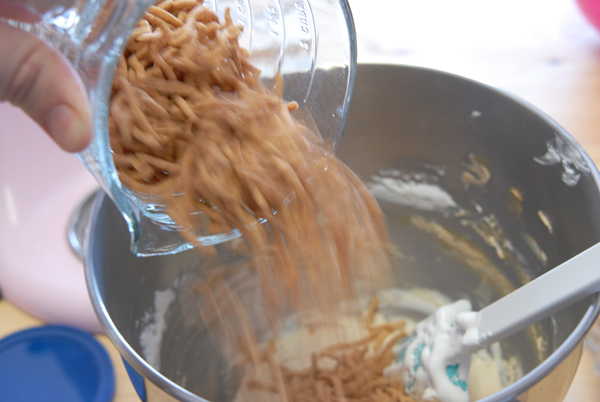
Pour chow mien noodles into your cream mixture
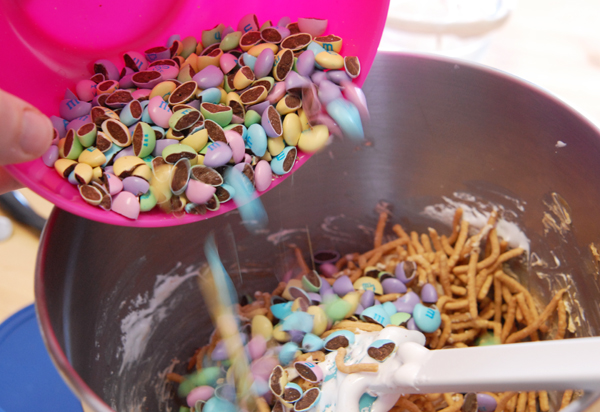
Now pour in your m&ms. hey no snagging, you still have the bag. Umm you still have the bag right? You didn’t eat them all already did you? DID YOU?? See my bag is right…..wait……… lets move on…
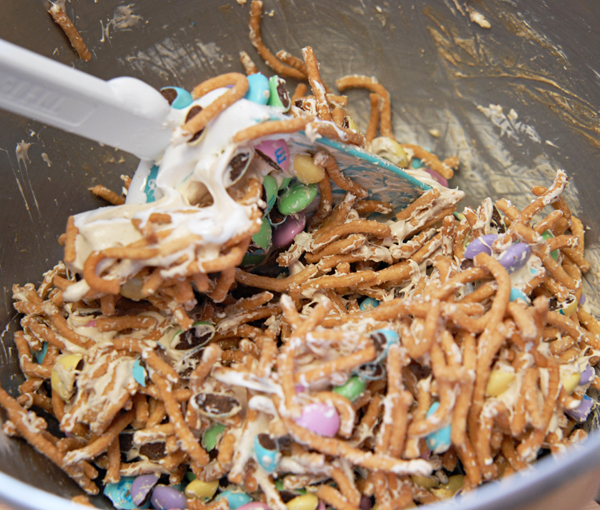
Now we are going to HAND mix everything together carefully. Some will break and thats ok. I forgive you. Its will be a little tricky at first to get it all mixed but it will get there.
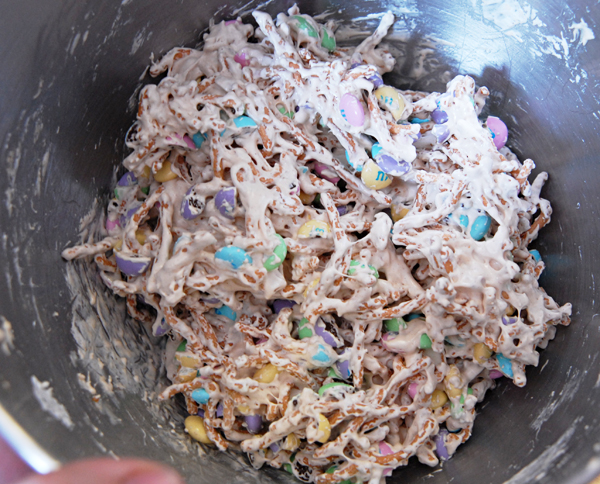
You may stop when everything is evenly coated. You have my permission
Now grease up a pan with butter. I have no idea where this picture went. I think my camera ate it because I didn’t share the m&ms. Remember that first batch of butter that I “oopsed!” Well it had cooled off by now so I used some of that! Handy right? Yea I ment to do that! ha ha!
moving on…
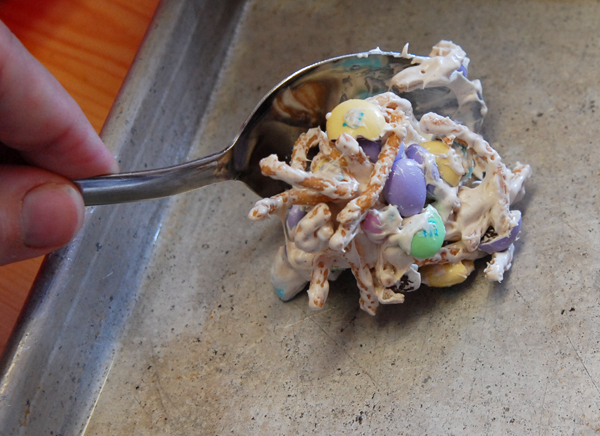
Using a tablespoon scoop out some of the mixture and plop it on the buttered pan. You can also use wax paper instead of butter if you wish
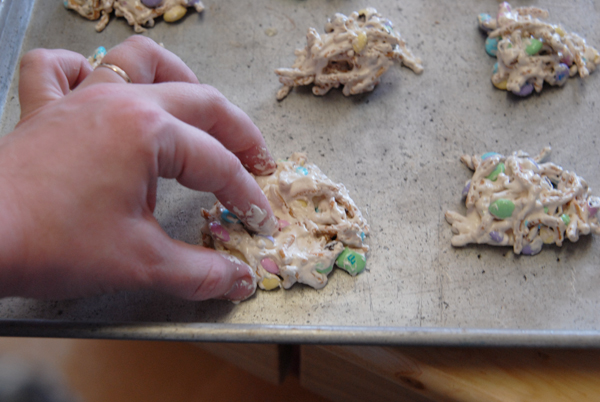
NOW comes the messy Uhh I mean FUN! yea fun part! Useing buttered hands (the other thing i was able to use my extra butter for!) Anyway, useing buttered (& CLEAN) hands, shape the drops of mixture into roung “nests” and put a dent in the middle of each one
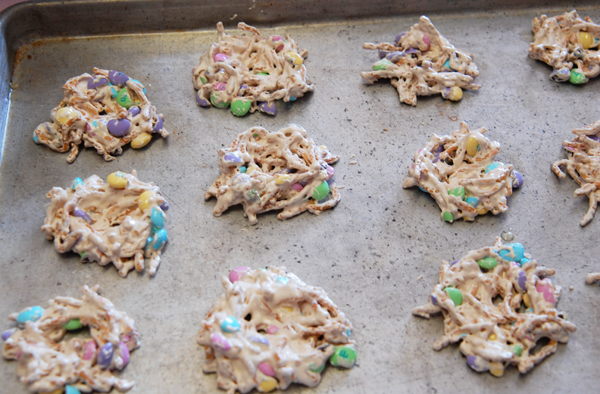
So you have a pan that might look like this, well the nests anyway, maybe not so much the pan, yes its an old pan, but hey be nice, its been very good to me! They didn’t mean to point and laugh at you pan, really they didn’t.
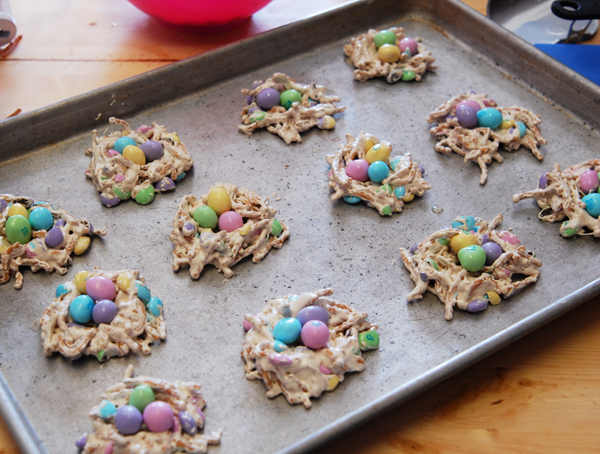
Now here is where you “lay” your eggs into your nests (snicker) ok maybe it was lame. Take three of your peanut m&Ms and place them in the dents of each nest. you’ll need to work pretty quickly, as once the mixture starts to dry the M&Ms won’t stick well
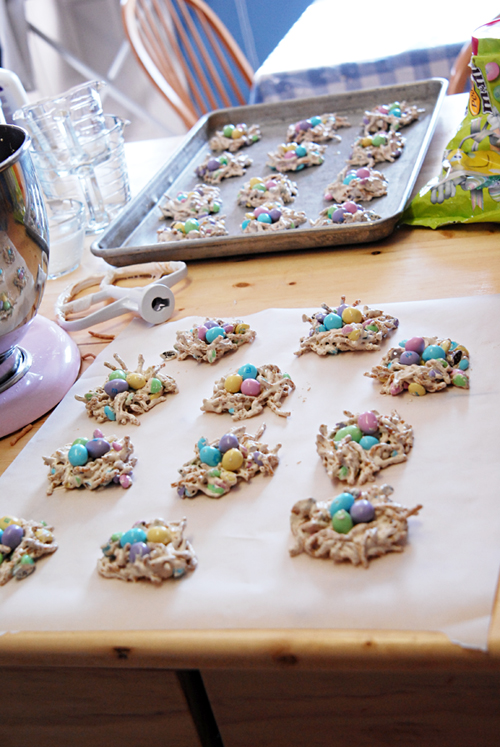
Now you let them set to harden. Really you need to stick them into the fridge for a little while for that to happen. Personally I would store them in covered containers in the fridge until they are ready to be eaten. After they’ve been out awhile they soften and start to fall apart again.
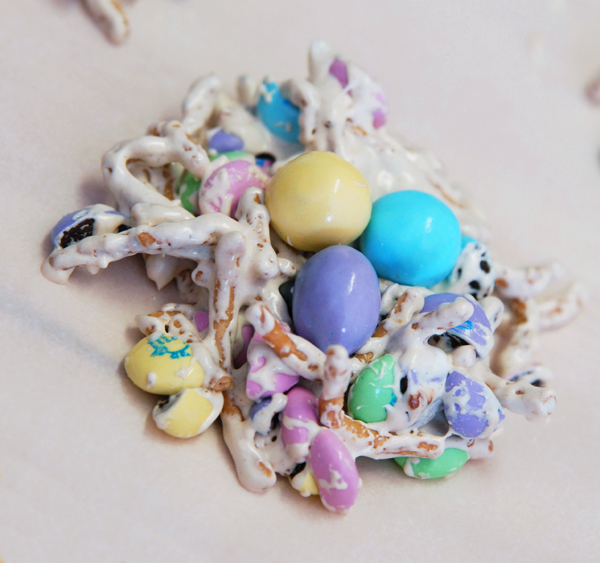
And there you have it! cute little spring nests!
Well I hope yours ended up being cuter than mine anyway, lol.
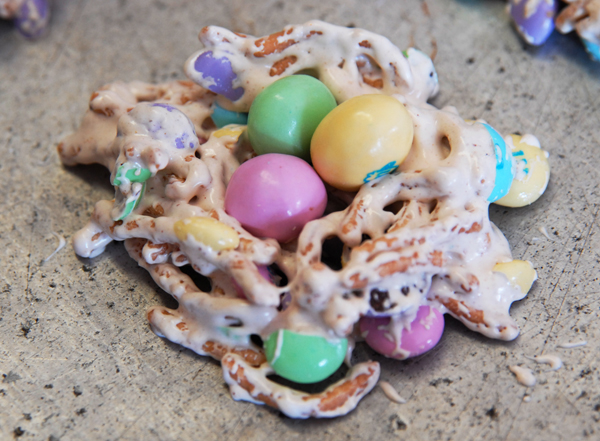
In review, I think next time I might try things a bit differently. Though my kids adored them, I’m not much for all the chow mien, I would like to try it with broken up pretzel sticks next time, and maybe a little less marshmallow cream so that it would be a little more “brown” nests. However I am not sure it would even work with less, as it may not be enough cream to hold it all together. I’ll be sure to update this post if I ever do find out! Or feel free to let me know if you try it! 🙂
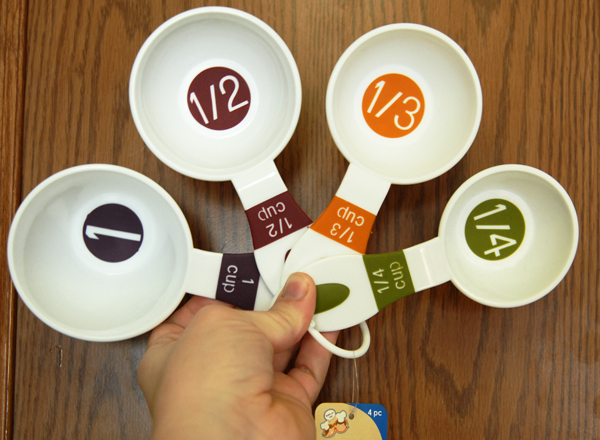
Ok ok now for the good part. Since you made it THIS far. See these cute measuring cups in their pretty jeweled colors and big bold measurements? I just love cooking with color! and Welllllll I happen to have a brand new set to give to one lucky reader! So here’s the deal. This site gets a lot of readers, but you wouldn’t know it by the comments section. You can practically hear the crickets chirping in there! So lets liven things up. If you’d like a chance to win these fun pretty cups, just leave me a comment and tell me what your favorite m&m color is. See, easy , fun, and ya might win something! Be sure to leave a valid email address in your comment so I can contact you if you are the winner! The winner will be drawn with a randomizer and I will post the lucky winner on this site, and mail them to ya strait away! I know its a small prize, but it’s something fun to get us going since this is a pretty new site. I plan to have more giveaways in the future, and hopefully they will be bigger and better!
so who’s in?? Contest will close at 9:00 PM CST on Saturday April 4th. So hurry! 🙂


